Frame Your Memories: Expert Tips for Crafting Stunning Wall Photo Displays
To grow and succeed in our personal lives, sometimes we need to change certain things. The same can be true when it comes to our home’s interior design. If there is no personal touch to how they’re designed or if no effort at all has been taken with the decor, our homes can easily seem soulless.
If you’re craving a home interior change, there are countless options you can try. From upgrading the lighting to changing out hardware, feel free to play around with your space to discover the ideal things that make your house truly feel like home. One idea you may want to try is a wall photo display. Gallery walls have the ability to bring warmth and flair to a space and they don’t require much effort to be done.
Here is how to build the perfect gallery wall using your favourite photos.
Start Collecting
The first step to creating the perfect gallery wall is making a collection of the photographs you love. As you start collecting, think about the scale of your possible collection and the arrangements you want. Do you want to keep them all the same size or work in a mixture of different sizes? Look for inspiration online, in your favourite restaurant, etc.
Choose a Style
Everyone has a unique sense of style, so the ideal gallery wall will vary from person to person. Before beginning your gallery wall, consider your personal style. What style is the décor in your house? Conventional, contemporary, or eclectic? What are the room’s current colours and patterns, and what are the furnishings made of? Do you want your gallery wall to blend in with the rest of the room’s decor or stand out and create a mood?
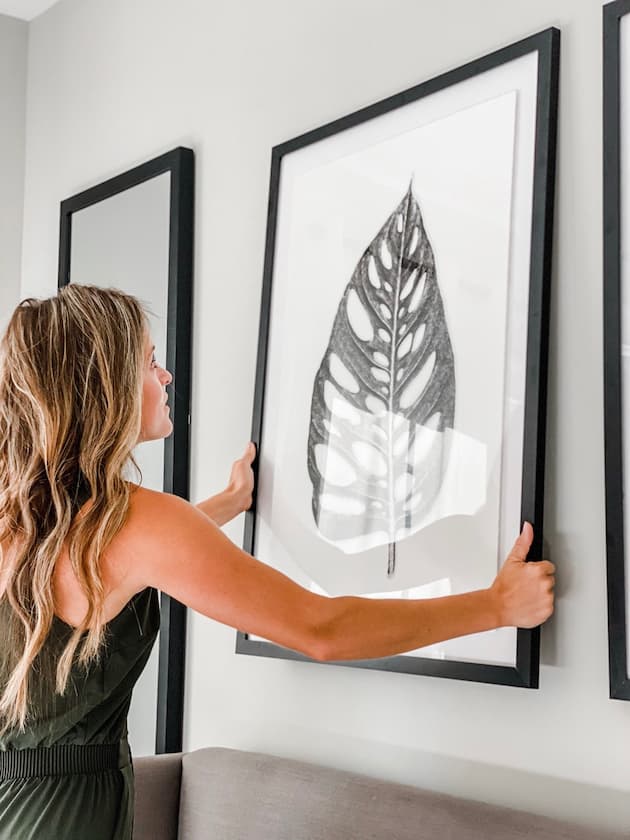
Pick Your Frames
Once you decide on your style, it’s time to shop for photo frames. For a traditional look, consider sticking with a single general frame style. I suggest you choose well-crafted mouldings with just enough detail or simpler frames made of high-quality materials like walnut or mahogany because more ornate forms can become overwhelming when they span an entire wall.
If your room features modern decor, simpler frames will be a better fit. Avoid any frames with elaborate details because they have a more retro appearance. Just keep in mind that simple does not equate to boring! Different frame colours, widths, and materials might be entertaining.
Mixing and matching different styles of photo frames is crucial for an eclectic look! Try to balance the use of traditional/vintage and straightforward/modern frames. Use these types of frames as accents so they don’t overpower your composition instead of filling your wall with them because ornate detailing and striking colours have a tendency to draw the eye. Balance is the key!
As for colour, it’ll also depend on the look you’re after. Pick a single frame colour for a cleaner, more cohesive design. This choice is especially advised for a wide variety of artwork because using one colour for all the frames will make the collection appear more coherent.
Selecting two frame colours will allow you to have a little more fun without feeling overwhelmed. Black and white, gold and white, a strong colour and black, and two contrasting wood tones are some timeless combinations. Two-thirds or three-quarters of your frames should be one colour, with the remaining portion being the accent colour. Or, get an equal amount of each and try arranging them in a grid while switching the colours.
For a gallery that is, particularly hip, choose a variety of colours. The key to making this kind of arrangement look balanced is to have a broad assortment. Different wood tones, metallic finishes, and vibrant colours can all be used to create an eclectic aesthetic. Feel free to use boldly coloured frames, but make sure they don’t overpower your artwork or the composition of the gallery wall as a whole.
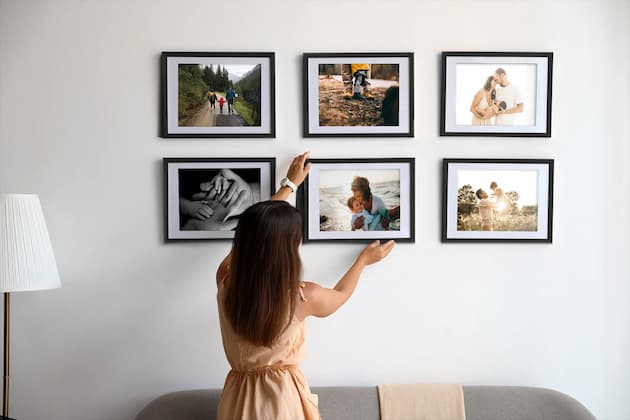
Hang the Picture Frames
To hand your picture frames you’ll need picture hooks or nails, a hammer and a spirit level. If this is your first time, consider making paper templates. Make sure you also have at hand a pencil, ruler, rubber and wall filler in case of mistakes. I suggest you lightly sketch on the walls where the top corners of the frames will be. Measure and mark the location of the nail holes on the picture frame. Get them all up and start hammering. Make sure everything is level by using a spirit level.
The distances between prints must be carefully considered when hanging your art. Although it’s fine to vary the sizes of your frames, keeping distances consistent makes for a pleasing and balanced finish.
Enjoy the Final Look
Once you finish hanging the frames, take a seat, enjoy and take in the magnificence of your creation. Keep in mind that you can easily replace or update your gallery wall with new pictures whenever you like. Simply determine what you want to remove and mount it again or replace it with a piece of comparable size.